
Satellite
Choose "GPS + GLONASS", "GPS" for more battery life.
For outdoor activities you usually do not need WAAS/EGNOS signal corrections (WAAS is only available in North America, EGNOS in Europe). WAAS/EGNOS can provide a better accuracy in certain situations and is recommended for pilots and mariners.
BUT: Activate it, if your preference is "Enable all and hope the best!" (= GPS / GLONASS / WAAS / EGNOS).
Language
Your choice
USB Mode
"Garmin" is recommended:
- The gps device is supplied with energy when connecting to an external power source (e.g. AC charger).
- Connecting the handheld to a PC you get the screen "USB Cable Detected. Would you like to go to Mass Storage?" (screenshot below). "Yes": Activiting the mass storage, you get access to the file system and can copy data or install maps (e.g. with Garmin BaseCamp); "No": Device is powered by the external source. "Mass Storage": When selected, mass storage is activated immediately when connecting to a PC.
Battery Type
Depends on your preferred battery type:
- Alkaline (not recommended)
- Lithium (recommended for cold environments and long run-times), e.g. Energizer AA Ultimate
- NiMH (for daily use)
- Precharged NiMH, for NiMH batteries purchased as precharged (LSD, Low Self Discharge batteries), highly recommended, for daily use & all activities: e.g. Panasonic Eneloop AA BK-3MCCE
Classic Mode
When activating the "Classic Mode" you get a user interface similar to the Garmin Oregon; this mode is active for all profiles!After power on you start with the recently active profile (like the Oregon) and not with the activity selection screens.
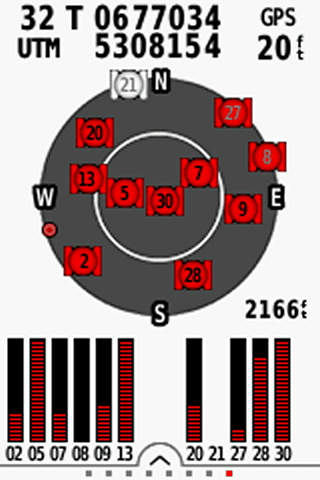
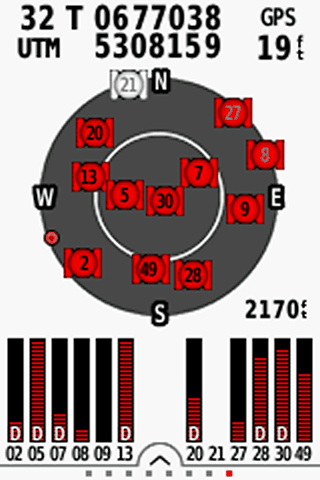
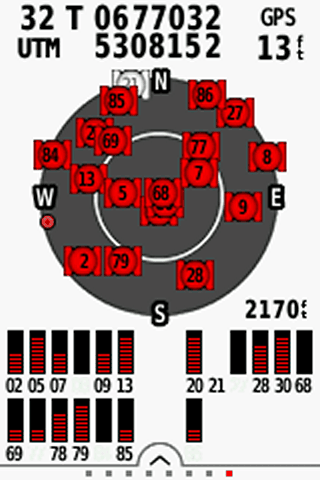
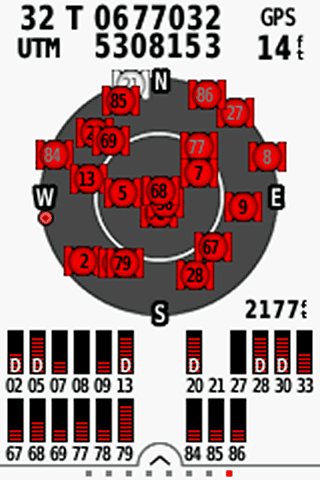
Screenshots (left to right): different settings for “Satellite System” and “WAAS/EGNOS”
- Satellites: 02 – 30 GPS
- Satellites: 01 – 30 GPS, 49 EGNOS; "D": device receives and uses EGNOS signal corrections
- Satellites: 01 – 30 GPS, 85 – 85 GLONASS
- Satellites: 02 – 30 GPS, 33 EGNOS, 67 – 86 GLONASS; "D" device receives and uses EGNOS signal corrections
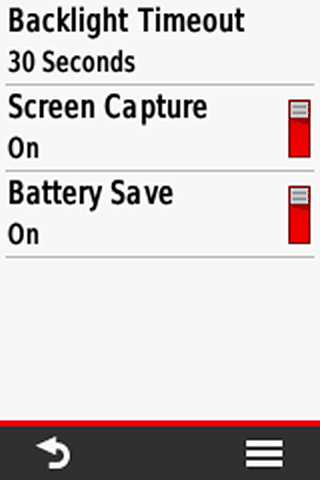
Backlight Timeout
Turns the backlight off after a given time.
Choose a timeout as short as possible to get more battery life, timeout should depend on your activity and profile.
Screen Capture
You can save images from you device screen, turn "off" except you need it.
Tip: After a tour you can capture your trip computer for saving the statistics!)(screenshots are saved in the device folder "Garmin\scrn")
Battery Save
Turns the screen completely off when you choose "On" (depending on the time defined in "Backlight Timeout"; touch the display for turning on).
Recommendations: activate it e.g. for hiking (when you are rarely looking on the display), disable it e.g. for mountain biking (when you want to have a quick glance on the display, in addition set "Backlight Timeout = Stays On").
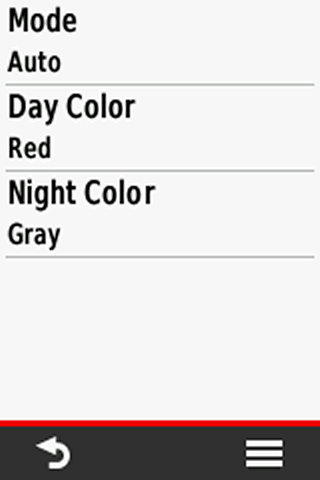
Mode
Choose between "Auto, Day, Night":
- Auto: Automatic switch between day / night colors (at sunset/-rise)
- Day: color as defined in "Day Color"
- Night: color as defined in "Night Color"
Day Color
It’s your choice
Night Color
It’s your choice
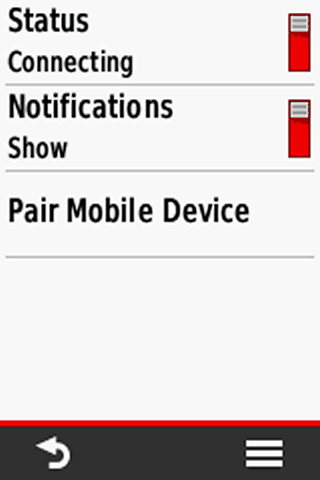
Bluetooth
Pair the device with a smartphone (Garmin Connect Mobile App must be installed, available for Android/iOS/Windows) and show or hide Smart-Notifications, otherwise disable the function ("Connection > Off").
When pairing watch for messages on your smartphone screen, you must enter a passcode provided by the eTrex Touch.
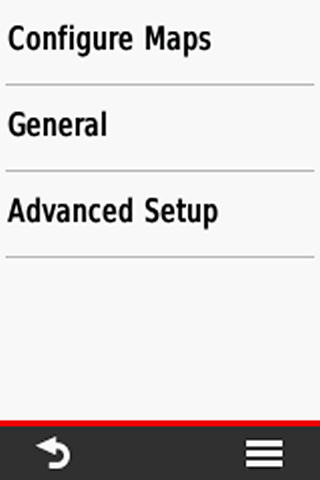
Configure Maps
Enable/Disable the installed maps
General
See the following section
Advanced Setup
See the following section
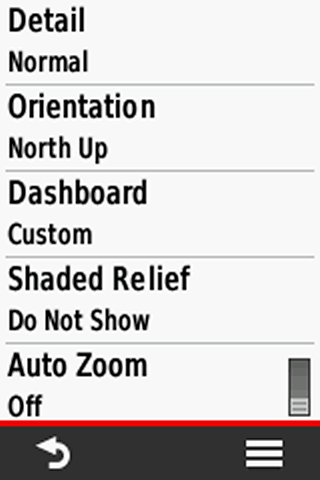
Detail
Details shown on the map, "Normal" map detail level is usually enough ("More / Most" map redraw is more slowly and battery drain might be higher)
Orientation
Map orientation, depending on your activity (and profile):
- North Up: North is always at the top of the display / page, independent of the device orientation (e.g. recommended for hiking without active navigation).
- Track Up: Direction of travel is always at the top of the page (recommended for active navigation and / or activities like cycling)
- Automotive Mode: Three dimensional look, direction of travel is always at the top of the page (recommended for automotive use)
Dashboard
Choose between different informations (data fields, graphics) on top of the map. Depending on your activity and preferences, e.g. "Dashboard > Geocache" for a geocaching profile.
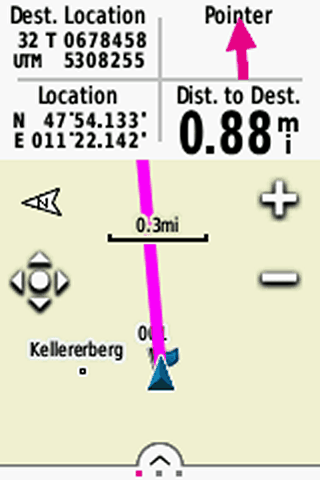
Our preference is "Custom": "When Navigating > Small Data Fields", "When Not Navigating > None" (while navigating you have four data fields on top of the map; otherwise the map is completely visible).
Shaded Relief
The shaded relief provides a better visualization (e.g. hill-shades), but in deep woods the darker map screen can reduce the visibility.
For a better readability use "Do not show". When you need the relief choose "Show if Available" or at least "Auto" (shaded relief disappears when zooming in the map).
Auto Zoom
"Auto Zoom": turn it off (except for car driving)
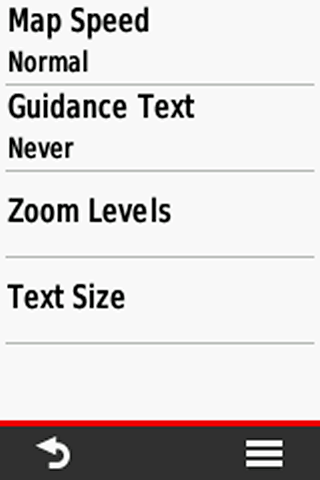
Map Speed
"Normal" is usually fine, "Fast" decreases battery life.
Guidance Text
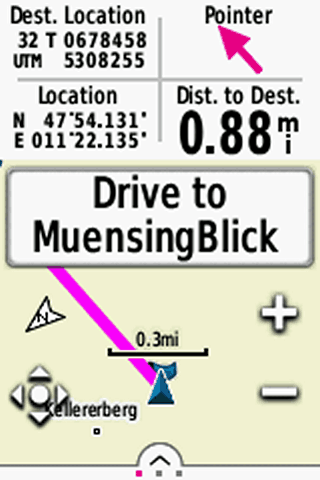
When navigating, a guidance text with usefull informations like "Drive to …" appears at the top of the map.
"Always" should be avoided, because the text "Ready to Navigate" covers the map, even without active navigation.
Best choices are "When Navigating" (e.g. for cycling) or "Never" (e.g. for geocaching, when using "Direct Routing"), depending on you activity or profile.
Zoom Levels
Use the default settings.
Text Size
Use the default or use "Small" or "Medium", "Large" is usually too much.
Screenshots (left to right)
- Our custom geocaching dashboard, map with four data fields
- Our custom geocaching dashboard with guidance text
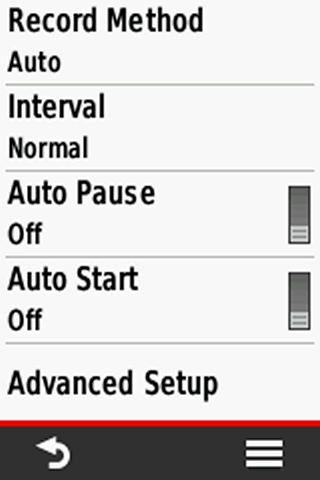
Record Method
Track recording method; our recommendation: "Auto" (good choice for most outdoor activities).
"Distance" is recommended for hiking, "Time" when using the device as a data logger for geotagging.
Interval
Settings for the track log recording rate depend on the "Record Method", the combination "Auto / Normal" is sufficent, for hiking e.g. "Distance / 10 m / 0.01 mi"
Auto Pause
When using "Auto Pause", the device pauses recording below a speed of approximately 2,5 km/h. Should not be used e.g. when hiking or cycling up slowly mountains.
Auto Start
Starts track recording automatically after the device is powered on and has acquired the gps position.
Tip: When "Auto Start" is active, reset the track log immediately before starting the tour (first determined position might be some meters off your current position).
Advanced Setup
Read in the next section.
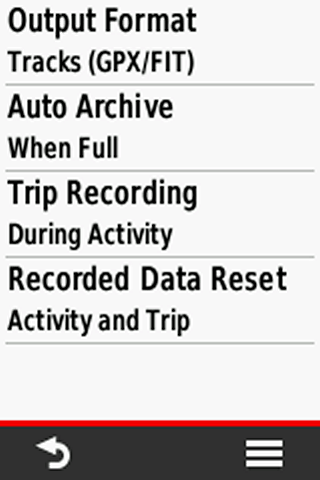
Output Format
Use "Tracks (GPX/FIT)" for most outdoor activities, "Activities (FIT)" e.g. for a running profile
Worth knowing:
- Classic track = GPX
- Activities = FIT
- Option "Tracks (GPX/FIT)": When saving the current recording, you find a new track in the "Track Manager" and a new activity in the "Activity History".
- Option "Activities (FIT)": When saving the current recording, you find a new activity in the "Activity History".
- GPX-Tracks in the "Track Manager" offer some more options than activities (e.g. "Show On Map" in different colors).
- FIT-Activities in the "Activity History" can be saved as tracks; after this procedure they are listed in the "Track Manager" and can be selected in the "Where To?" menu. Activities contain some fitness relevant informations being usefull in the Garmin Connect Online Community.
- Tracks are saved in the device folder "Garmin\GPX" in the gpx file format (you have access to the folders when the device is in the mass storage mode).
- Activities are saved in the device folder "Garmin\Activity" in the fit file format.
- Fit files use less memory space.
Auto Archive
Recommended: "When Full"
Trip Recording
Use "During Activity": trip computer recording is active when starting the track log, suitable for most activities.
"Always": might be interesting for activities like geocaching; the trip computer is always active when the device is turned on, trip computer recording is independent from the track log.
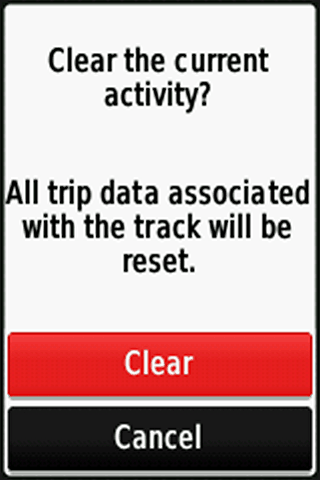
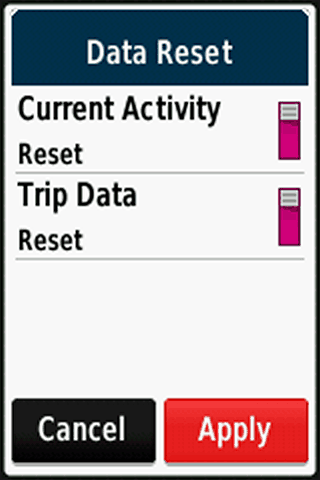
Recorded Data Set
"Prompted" is recommended; you can clear the track log and/or the trip data, independent of each other.
"Activity and Trip": you must clear the track log and the trip data together.
Screenshots (left to right)
- Recorded Data Reset: "Activity and Trip"
- Recorded Data Reset: "Prompted"
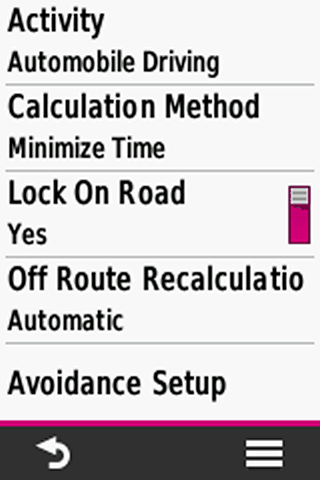
Activity
Choose your preferred activity (dependent on the active profile, e.g. "Hiking" for a hiking profile)
- "Direct Routing": straight line from your current position to the destination (e.g. waypoint, geocache) or from point to point (e.g. waypoint to waypoint when navigating along a multipoint route). Direct routing is independent from trails, streets etc. on the map ("over hill and dale").
- "Cycling, Hiking, …": Autorouting to the destination; the device calculates a route along trails, streets etc. (requires a routable map)
- "Prompted": After setting the destination you can choose the activity, e.g. "Direct Routing", "Tour Cycling", … (calculation method is automatically set to "Prompted")
Calculation Method
Depends on the activity and your personal preferences, e.g. "Minimize Time" for automobile driving or "Minimize Distance" for hiking.
"Prompted": you can select the calculation method after setting the destination.
Lock On Road
"No", except for activities like road cycling or automobile driving ("Yes": locks your current location on the nearest road, also called "snap to roads").
Off Route Recalculation
When you detour from the calculated route, the device recalculates a new route; choose the setting in dependency of the activity, e.g. "automatic" for automobile.
Avoidance Setup
Types of roads or transportations (e.g. ferry) you want to avoid.
Route Transition
This screen is only active when you use "Direct Routing" as activity.
"Auto" is normally fine
- "Auto": automatic transition to the next point of a multipoint route
- "Manual": manual transition to the next point of a multipoint route (use the function "Active Route")
- "Distance": when you are within the entered distance the device leads you to the next waypoint of a multipoint route
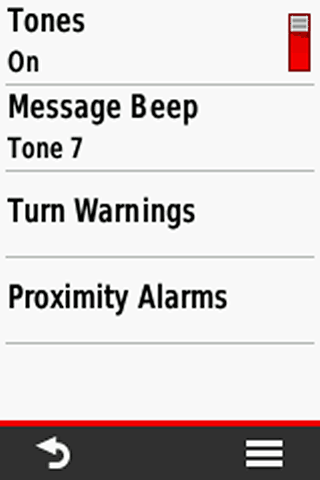
Tones
Recommendation: Tones "On"
Message Beep
Choose one, the message beep keeps you informed e.g. when the battery is low or the gps signal lost.
Turn Warnings
Choose different tones; warnings appear when navigating with routes from waypoint to waypoint or when using autorouting (turn "Early / Final Turn Warning" off when you do not need it in your active profile)
Proximity Alarm
Different options, e.g. when approaching a POI (turn "Proximity Tones" off when not in use)(highly sophisticated topic, have a look Garmin warnings and alarms, in German)
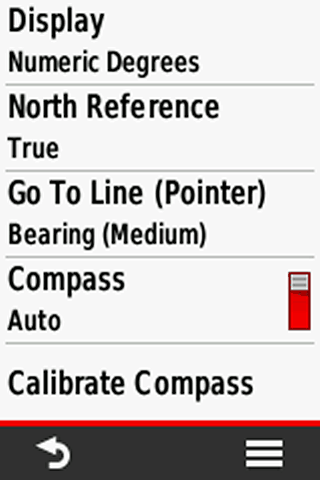
Display
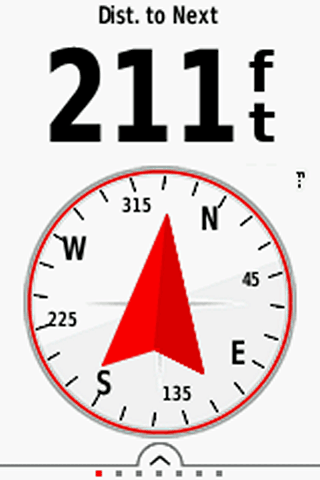
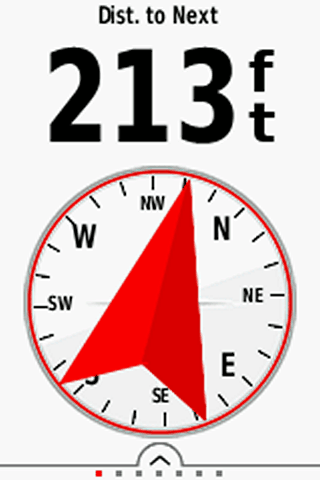
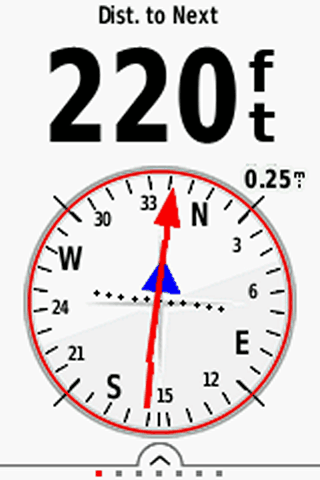
"Directional Letters" or "Numeric Degrees" are the best choices for many outdoor activities ("Mils" for special use cases)
North Reference
Only relevant when navigating with compass and paper map (use the standard "True")
Go To Line
Use "Bearing" (small / medium / large is your choice), "Course / CDI" (Course Deviation Indicator) for special purpose, e.g. for sea kayaking
Compass
Use "Auto" ("Off" when you do not need the compass, might save some battery)
Calibrate Compass
Calibrate the compass at the starting point
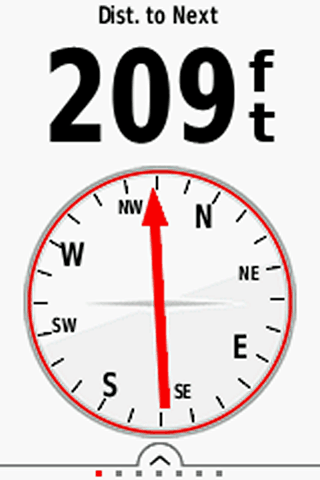
Screenshots (left to right)
- Compass: Bearing small, Directional Letters
- Compass: Bearing medium, Numeric Degrees
- Compass: Bearing large, Directional Letters
- Compass: Course / CDI
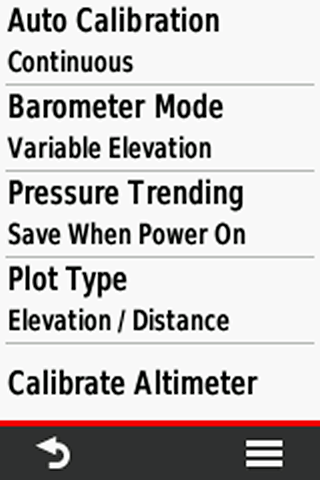
Altimeter Settings (1st screenshot)
Auto Calibration
- Off: auto calibration turned off
- Once: automatic calibration after starting the gps device (requires gps position and gps height)
- Continuous: using GPS continuously for calibration
Recommended altimeter calibration methods for outdoor activities:
- 1st choice: Manually by entering the elevation at your starting point and recalibration on tour (e.g. elevations from mountain tops)(auto calibration "off")
- 2nd choice: Manually by entering the elevation at your starting point, on tour using auto calibration "continuous"
- 3rd choice: Use only auto calibration "continuous" ("At Power On": short trips, stable weather conditions)
Barometer Mode
"Variable Elevation" as altimeter
Pressure Trending
"Save When Power On" as altimeter on tour
Plot Type
"Elevation / Time" or "Elevation / Distance"
Calibrate Altimeter
Calibrate the altimeter by using one of these data:
- "Correct Elevation" (e.g. from a paper or digital map)
- "Correct Pressure" (e.g. from weather data)
- "Current GPS Altitude" (from your gps device; tip: wait some minutes after power on)
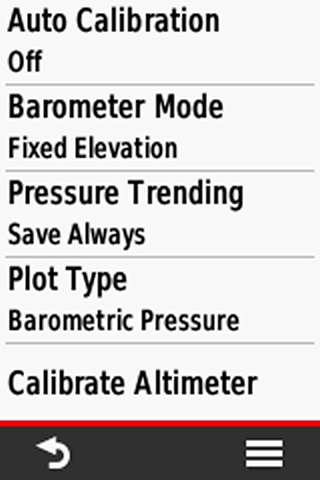
Barometer Settings (2nd screenshot)
Auto Calibration
"Off": auto calibration turned off
Barometer Mode
Use "Fixed Elevation"
Pressure Trending
"Save Always", reads pressure even when the device is turned off
Plot Type
"Barometric Pressure" (use preferably; ambient pressure calibrated to sea level, not compensate for humidity or temperature) or "Ambient Pressure" (sensor reading from the unit)
Calibrate Altimeter
Calibrate the altimeter by using one of these data:
- "Current Elevation" (e.g. from a paper or digital map)
- "Correct Pressure" (e.g. from weather data)
- "Current GPS Altitude" (from your gps device; tip: wait some minutes after power on)
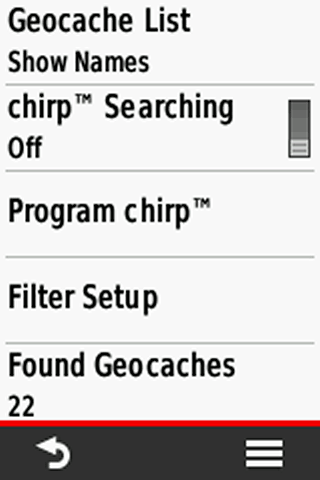
Geocache List
Preferably choose "Show Names" (e.g. "Welcome to Bavaria") instead of "Show Codes" (e.g. "GC2NJG9")
chirp Searching
"Off", except you are using a Garmin Chirp
Program chirp
When using a Chirp
Filter Setup
Define filters for selecting geocaches, e.g. for traditional geocaches, status, difficulty, ...
Found Geocaches
Number of found geocaches (automatically added, but you can manually edit the number by touching the menu item)
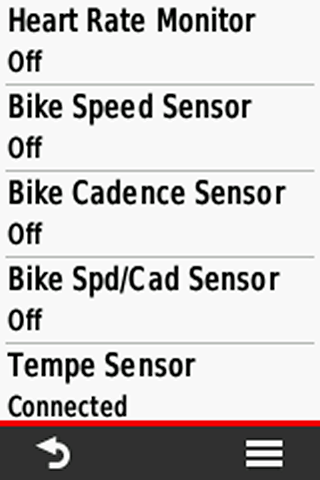
All Sensors
"Off", except you want to pair / use a specific sensor for your profile
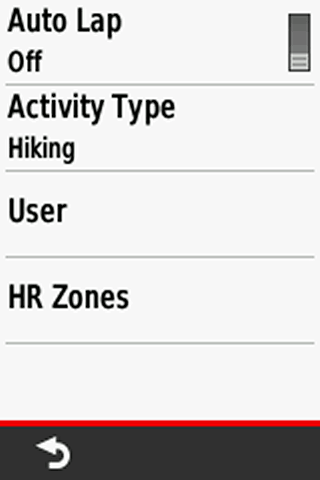
Auto Lap
A new lap will start automatically, depending on the defined distance
Activity Type
Select an activity type matching your profile, e.g. "Hiking" for a hiking profile (then the activity appears in Garmin Connect as a hiking activity).
User
Set your user profile: Age, weight, ...
HR Zones
Set your heart rate zones (check: www.heart.org)
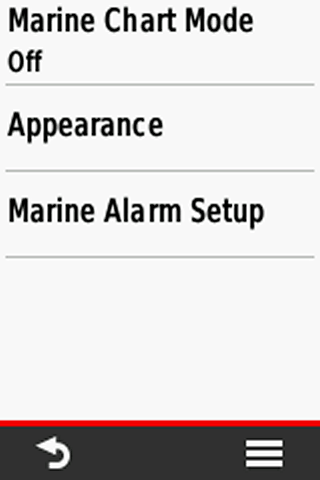
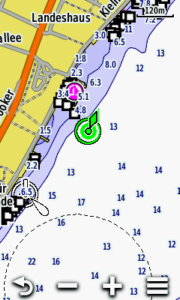
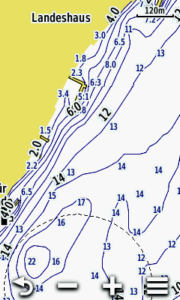
Marine Chart Mode
Displaying marine data, depends on the installed map (e.g. Garmin BlueChart) and the activity („Fishing“, „Nautical“).
Screenshots: top „Nautical“, down „Fishing“); otherwise turn it off.
Appearance
Different map settings (sorry, no experiences!)
Marine Alarm Setup
Marine alarms, "Anchor Drag Alarm" and "Off Course Alarm"
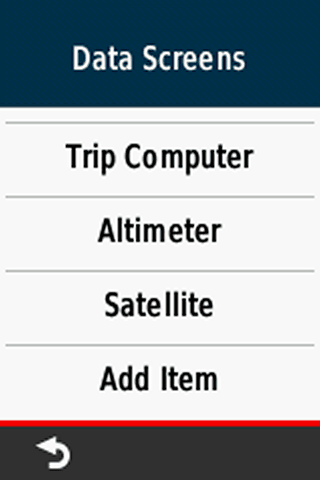
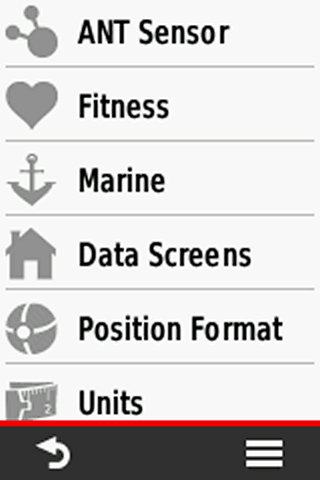
Data Screens
Select / Remove / Move the screens you need in your main menu - keep it simple, less is more!
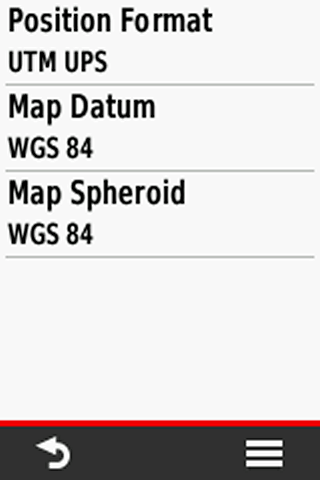
Position Format
Format for coordinates. For geocaching and marine use "hddd°mm.mmm'“, otherwise "UTM UPS“
Map Datum
“WGS 84”, except for working with paper maps
Map Spheroid
“WGS 84”, except for working with paper maps
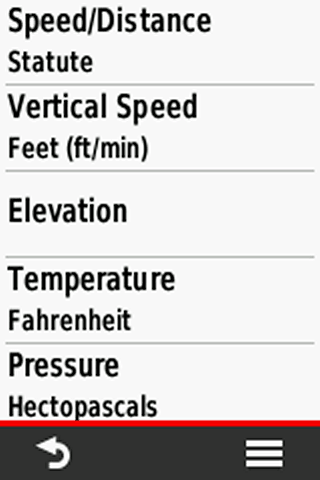
Your choice, depending on you region, activity, ... (Pressure: Hectopascals, international unit)
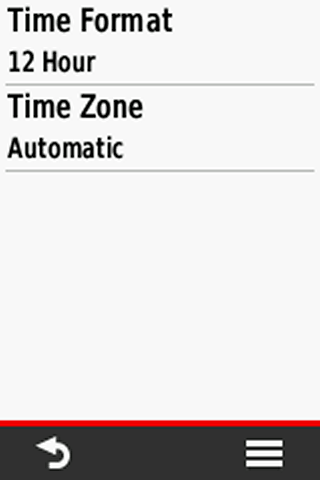
Time Format
Your choice
Time Zone
“Automatic” is recommended.
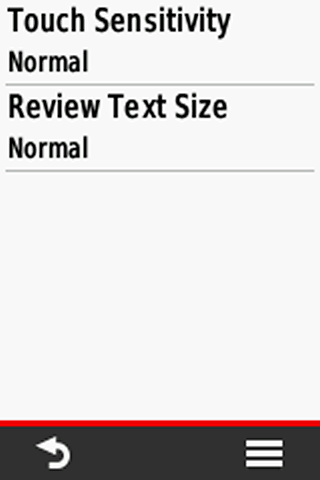
Touch Sensitivity
Use "High", even without gloves the best choice for the eTrex Touch.
Review Text Size
Use "Normal", "Big" changes the font size and might be too big (e.g. for geocache descriptions).
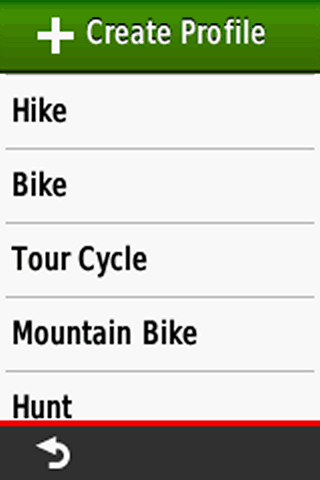
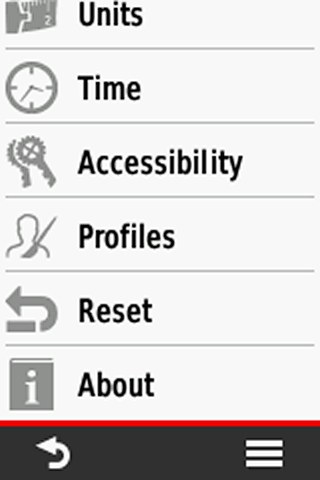
Profiles
Create / Edit / Move / Hide profiles:
- Recommendation: Leave the Garmin default profiles as is and create your own profiles.
- How-to: Activate a default Garmin profile (e.g. "Hike", function "Profile Change"), go to "Setup > Profiles > Create Profile", your new profile has the same settings as the previously activated "Hike" profile, then you can rename and tweak the new profile as you like.
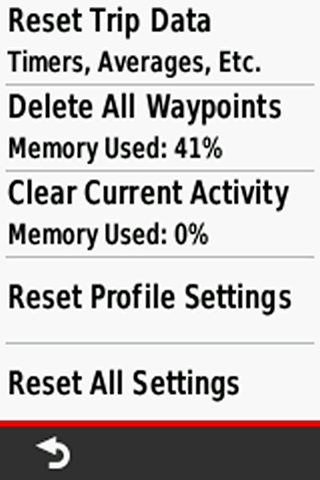
Reset Trip Data
Deleting all data from the current trip, e.g. like "trip odometer, ascent total" (but not the "odometer" = all recorded distance by the device).
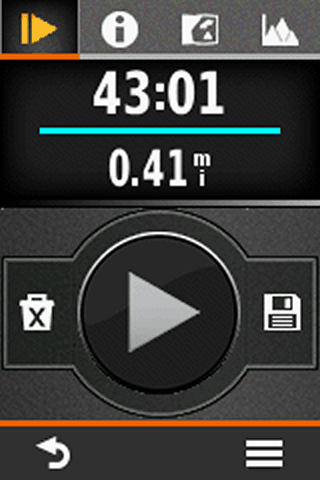
Has the same functionality as the reset button in the "current track" screen (screenshot below).
Should be done before starting a new trip/activity.
Delete All Waypoints
Deletes all waypoints.
Clear Current Activity
Clears the actual activity (active log). Should be done before starting a new trip (alternative: reset in the “Current Activity” function).
Reset Profile Settings
Restores the current profile, e.g. when you changed a Garmin profile, you can reset it to the default.
Reset All Settings
Reset all settings (restores the device to factory default settings).
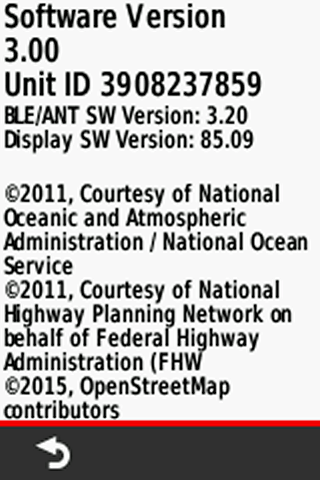
Software version, unit ID, licence informations
Information very good, however, when out Hiking or cycling with my Garmin etrex 25 touch the Map will disappear say after 30 or 40mins.
Still shows the route line I’m on but no map. Have to turn off then back on.
Any clues to what’s wrong ?
quite strange, I would re-install the map if possible (does it happens with different maps as well?)
Only use the Topo Great Britain PRO 1 : 50k. Does go off in cycling mode as well as hiking mode. How do I re-install the map ?
Do you own a download version? normally purchased maps can be reinstalled via Garmin Express.
Hi
Why does my etrex touch 25 the odometer add distance when it is sitting still and the mh goes up and down when it is just sitting still. If I leave it sitting still for a couple hours it may show I went 1.2 miles.
Your settings & how to guide was very helpful. I thought maybe I would find my answer after I went though all the settings but it is still doing it.
Thanks
Hi,
the reason is as follows. The GPS receiver calculates regularly the current position. However, since the individual positions differ from each other (the worse the GPS reception, the more), the system "interprets" this as movement!
As a workaround, you can temporarily disable the GPS system ("Setup > System > Satellite System"), power off the eTrex Touch or just don’t pause when hiking … 🙂
Cheers!
Hi This is very helpful .
hen you go off route , is there a setting that will redirect you back , couple of times on my bike nothings happened when roads re diverted because of road works
Many thanks Kev
Hi,
you only get redirects when using a route, not a track – but even when you activate "off route recalculation" in the routing setup, it is not very reliable – I’m not using this function and use the map to find back.
Cheers
Good Site, hierarchical menus very clear.
How do I save all these settings to laptop ? I can inspect the track files, route files, waypoints, and save and/or replace them, but where are the settings files ?
Thanks
Iain
Hi, the eTrex saves the settings for each profile in the "Profiles" folder.
Cheers
Thanks. I have two .gpf files in Profiles: are these the ones, and what does the extension gpf mean ?
yes, these are the files with you specific settings; I guess gpf = garmin profile files
Thanks. Files are in GARMIN>Garmin>Profiles>
Thanks for this clear explanations! Very helpful.
You are welcome!
Cheers
Thanks. Files are in GARMIN>Garmin>Profiles>
thanks this was useful
How does it work with gloves?
Try glove liners which have finger-tips adapted (embossed or heat-stuck) for grip. Mine are Karrimor polyester (ads don’t say they’re for touch screens, but they work) which last as long as the material isn’t worn at the tips (avoid velcro!). Some phone users get by with gloves without finger-tips.
How do you show the track line when you do a walk
Function / Icon "Current Activity": Start an activity; press the "i" icon on top of the screen; activate "Show On Map" – that’s it!