As easy as pie – the same applies to configuring and setting the Karoo 2!
I have written this guide for a first quick start, which should be an addition to the really good Hammerhead support pages!
Tip: Even before the delivery service rings at the front door set up and configure an account at Hammerhead – then the onboarding (first setup) is done faster!
Karoo 2 – How to setup the buttons?
Information about the buttons (assignment, functions) can be found on this support page: Physical Buttons.
Karoo 2 – Profiles and Layout
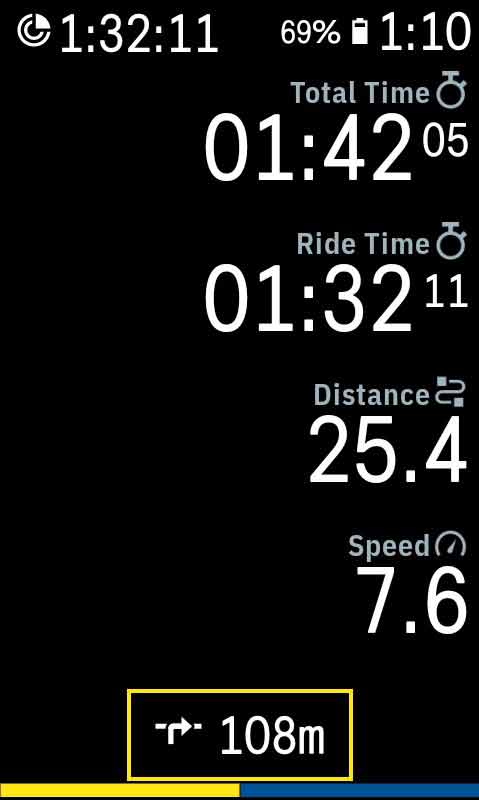
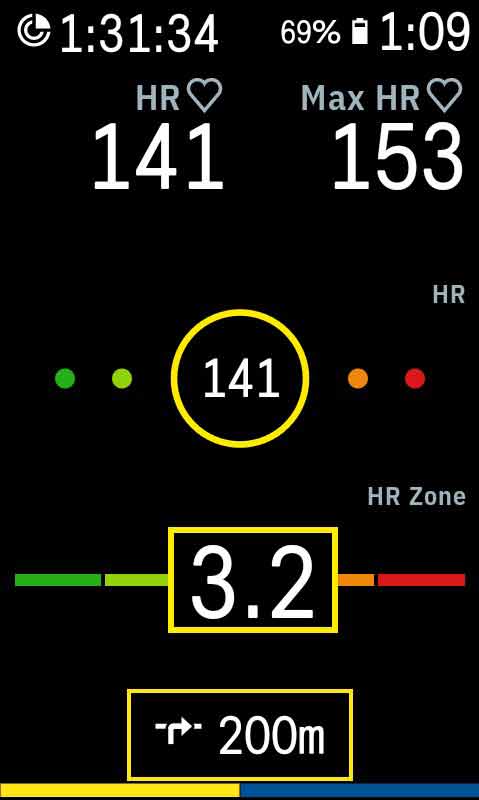
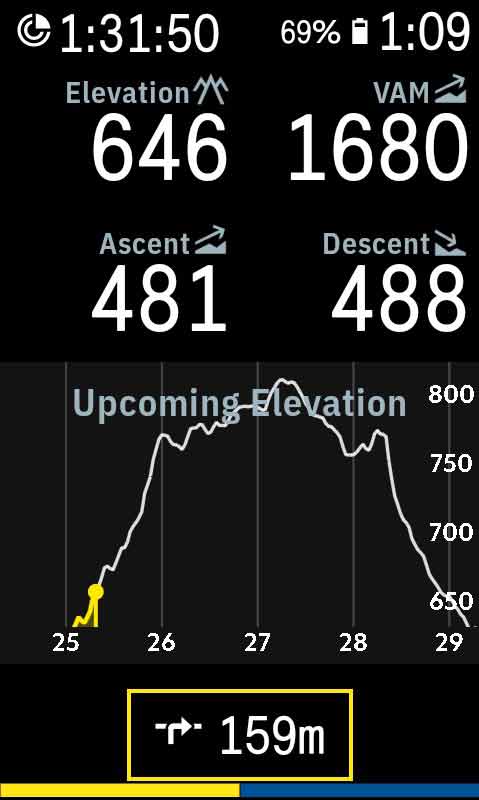
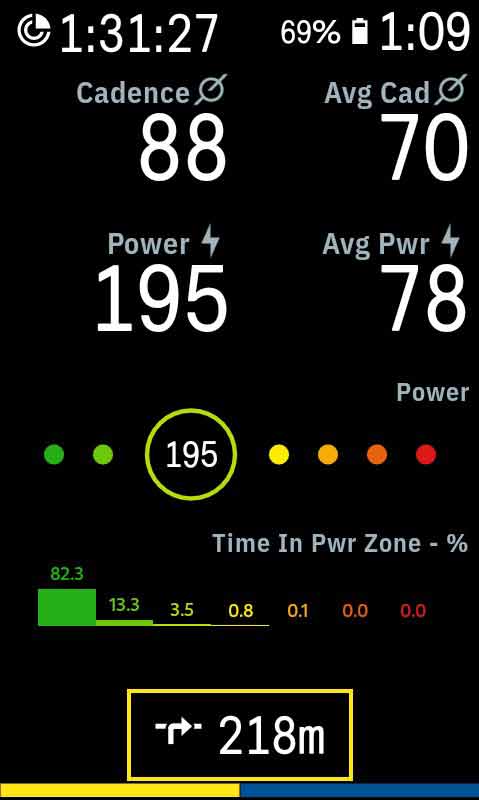
Via "Profiles" (in the main menu) you can create additional profiles or open a profile – e.g. "Got Hills" – and then configure it via "Edit Layout", including adding pages and defining the displayed data. This is done intuitively, supported by animations.
Examples for different data pages:
Karoo 2 – Most important settings in the "Settings" menu
The "Settings" menu for all settings can be reached via the four-dot symbol in the main menu.
In the following, I will only go into the most important points – after all, the setup is very clear, and many settings should be familiar to smartphone-savvy users.
Strava Live Segments
By tapping "Options" the segments can be synchronized with Strava.
Connected Accounts
Connecting to other services (Strava, Ride with GPS, TrainingPeaks, Komoot, Xert) is done via the Hammerhead Dashbord.
With "Ride Upload Mode" you activate an automatic or manual upload of newly saved activities ("Rides") via Wi-Fi or cellular.
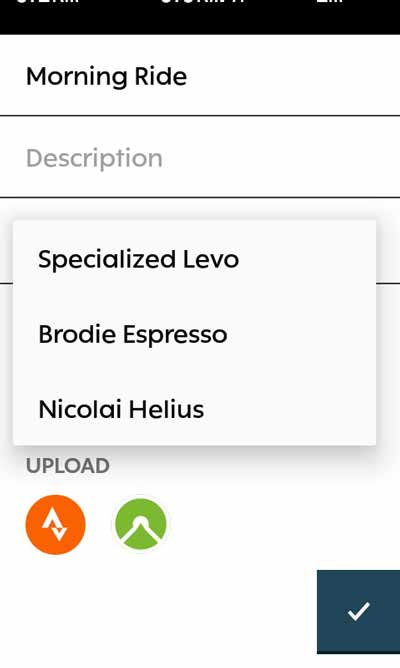
You can start the manual upload when saving an activity by activating the respective icon (figure, in this case komoot & Strava) or by opening a saved activity in the "Rides" menu and tapping the icons.
Bikes
Entering the bikes used; when saving a "Ride", a bike can be assigned (figure above). The distance traveled with each bike can be found in the details for each bike.
Training Zones
Heart Rate Zones
By manually entering the maximum HR and the resting heart rate, the heart rate zones can either be typed in manually or calculated automatically ("auto calculation" currently leads to less plausible zones 1 or 5, e.g. the maximum value is 255 beats …).
Power Zones
Enter a "threshold value" and automatically calculate or manually enter the power zones.
Turn By Turn Directions
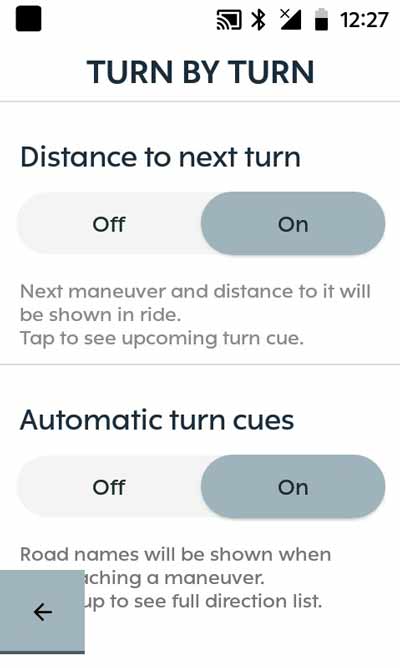
Here you can adjust the notifications for turns.
- Distance to the next turn
- Automatic turn cues
Setting "On/On": Turn notifications like "211m" and "147m Take right" appear.
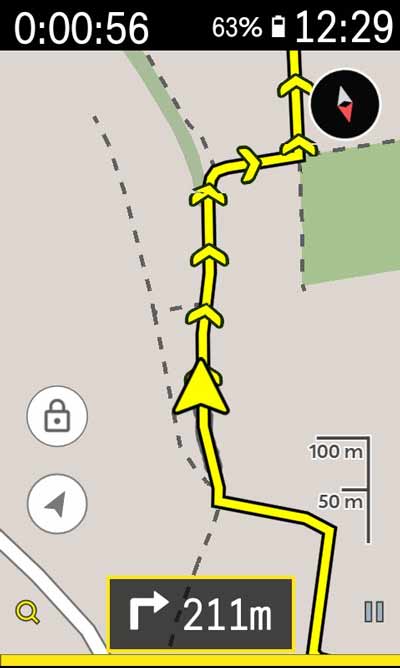
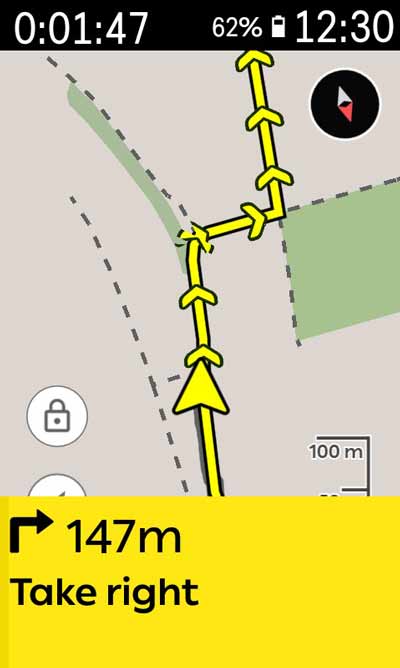
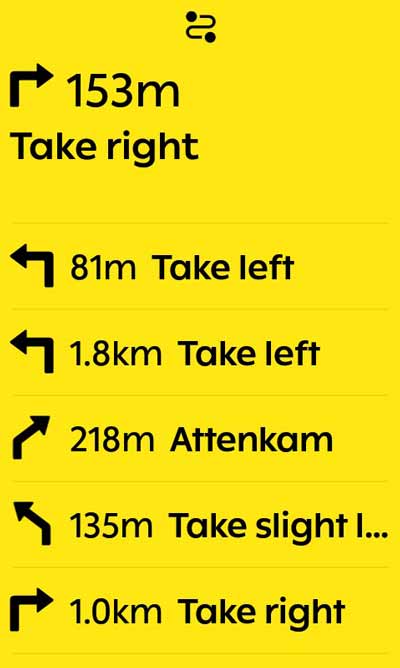
Setting "On/Off": Turn cues like "147m Take right" disappear, only messages like "211m" can be seen.
Setting "Off/On": Turn cues like "147m Take right" appear, messages like "211m" are not visible.
Setting "Off/Off": There are no turn-by-turn instructions.
For all settings: While riding, a swipe across the display from bottom to top opens a detailed list (top right image).
Climber
Here you should set which climbs the Climber displays. Depending on your route, only "Medium and Large Climbs" might make sense (e.g. in the mountains, no 20 m climb is of interest there).
Key Button Icons
When deactivated, the symbols for zooming (bottom left) and pausing or ending a recording (bottom right) are permanently visible on the display (2nd figure above).
When enabled, these icons disappear. The map can then be zoomed by tapping it quickly several times or by pressing the button at the bottom left. By briefly pressing the key at the bottom right, the (hidden) symbols for pausing or ending the recording appear.
Sensors
- Depending on which sensors are in use, ANT+ or Bluetooth can be activated separately.
- In the settings for a sensor, various changes can be made (e.g. the name, de-/activate).
- For multiple sensors of the same type, the priority (order) can be changed via drag & drop.
Auto-Pause
When enabling (recommended), a threshold value can be set. Below this value, auto-pause is activated. It is important to be careful, auto-pause should not be activated e.g. during an extremely slow crawl up a slope … so it is best to fine tune the threshold or leave it at 0.0.
Tip: Auto-Pause can be disabled or enabled in the quick settings menu (swipe down from the top of the screen).
Battery Save
Do not be surprised if the display goes off after 30 seconds without interaction during a ride … then this setting is probably the culprit – so it might be better to deactivate it (unless you want to save battery).
However, the display is automatically activated for turn-by-turn instructions, vehicles detected by radar or when starting a live segment.
Elevation Calibration
Calibrate the altimeter. Since the automatic calibration via GPS is very accurate, this setting can be left at "Auto".
Display
If e.g. "Sleep = 15 s" is set, the display goes off after 15 seconds, for example when you are in the main menu (not during an activity on the map or a data page); it is best to use a correspondingly high value (e.g. 1 minute).
Use the "In-Ride Dark Mode" toggle to switch between a white or black background on the data pages.
Location
When activated, the GPS system is switched off. Possibly use for power-saving play on the device.
Audio Alerts
In this menu you should look in and disable/enable the audio notifications that are not important for you.
Developer Options
Select USB Configuration: Set "MTP (Media Transfer Protocol)" to connect to the PC; then there is access to the internal memory (example Mac, via a tool like Android File Transfer).
